In June of 2014 my husband and I boarded the Struggle Bus to DIY our way to a tinted glitter epoxy floor in what would would soon be converted into my office.
Ya'll. This was hard. Really effing hard. But--part of it didn't have to be, and perhaps had I found my own blog post here in the future things could have been easier. So. Here's how we did it, plus some tips to save you some frustration.
Here's what you'll need:
For prepping the floor:
- Dense brush for scrubbing floor before you start (or a mop & bucket--but probably still the brush too)
- Putty knife
- Hammer
- Flat Head Screw Driver
- Concrete crack filler
- Comet Bath cleaner
- Sand paper
For epoxy-ing:
- Clear epoxy floor coating kit(s)
- It looks like they don't make the kit we bought anymore, but this appears to be samesies (we bought 2 kits): http://www.originalcolorchips.com/store/index.php?main_page=product_info&cPath=14_29&products_id=99
- Opaque Pigments
- We used one small bottle of light blue & one small bottle of green from here: http://www.tapplastics.com/product/fiberglass/resin_fillers_dyes/tap_premium_pigments/50
- Optional Non-Skid Additive
- I can't remember what we used, but something like this: http://www.originalcolorchips.com/store/index.php?main_page=product_info&cPath=6&products_id=68
- 2 long handled paint rollers & 2 trays (We just used one and my husband did this himself--two people with two brushes would have been a good idea.)
- DO NOT GO CHEAP ON THE ROLLERS
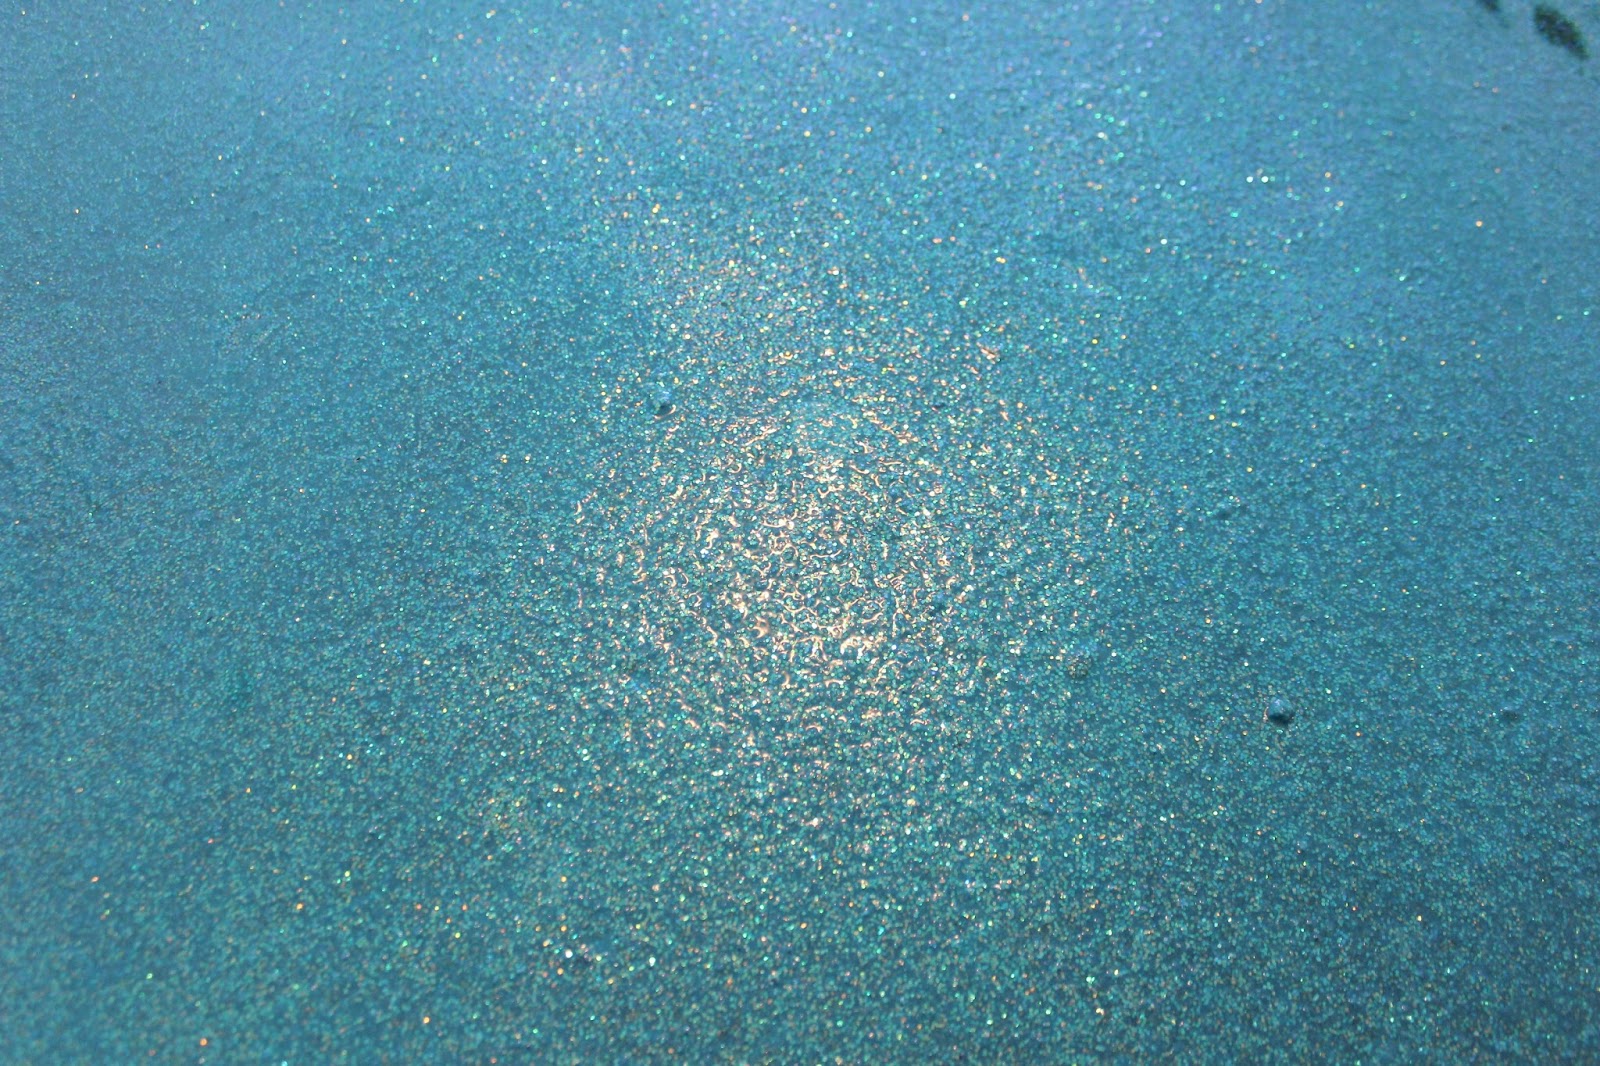
- A shitload of glitter
- I used 4 lbs of Seafoam Crystalina Glitter from Rainbow Turtle. It's currently unavailable but they have other similar colors (Ocean Spray looks pretty close): https://www.rainbowturtle.com/ProductDetails.asp?ProductCode=crflkseafoam
- Fans (both for drying & for glitter dispersement)
And here's how you do it.
Prep the floor:
1. Pull up any carpeting/padding to expose the concrete.
2. Remove any glue, tackboards, and/or nails from the floor.
3. Remove any other "stuff"-- does your concrete floor have random bumps? Get rid of those using either the putty knife or the flathead screwdriver and hammer.
4. Use a boxcutter or other knife to score where your baseboards meet your wall (if necessary). Using the putty knife and a hammer, carefully remove the baseboards.
5. Ah crap. You found mold behind the baseboards from whatever mysterious event must have happened here before you moved in. Go ahead and get super frustrated and cut out the drywall.
NOTE: Look, I'm not a doctor but it's likely we probably should have had a crew come in to handle this. But we didn't My husband put bandana over his face, cut out the area, and called it a day.
6. Fill any cracks or holes with concrete crack filler and use a putty knife to smooth it out. Let it dry per package instructions.
7. Sand down the areas you've filled and then use the original Comet bath tub cleaner & a dense brush to clean the crap out of the floor. (Or use a mop & bucket but it's really important that the floor be super clean.) Then let it dry completely with fans blowing on it if possible overnight.
And now, you can "start":
1. MAKE A PLAN AND HAVE HELP. This stuff has a very short window before it dries and ruins your life. Plan what side you'll start on, who will do what, where, and when. Practice with the glitter outside. Make an area where you can keep the epoxy where it won't touch anything--it will never come off it goes somewhere you don't want it.
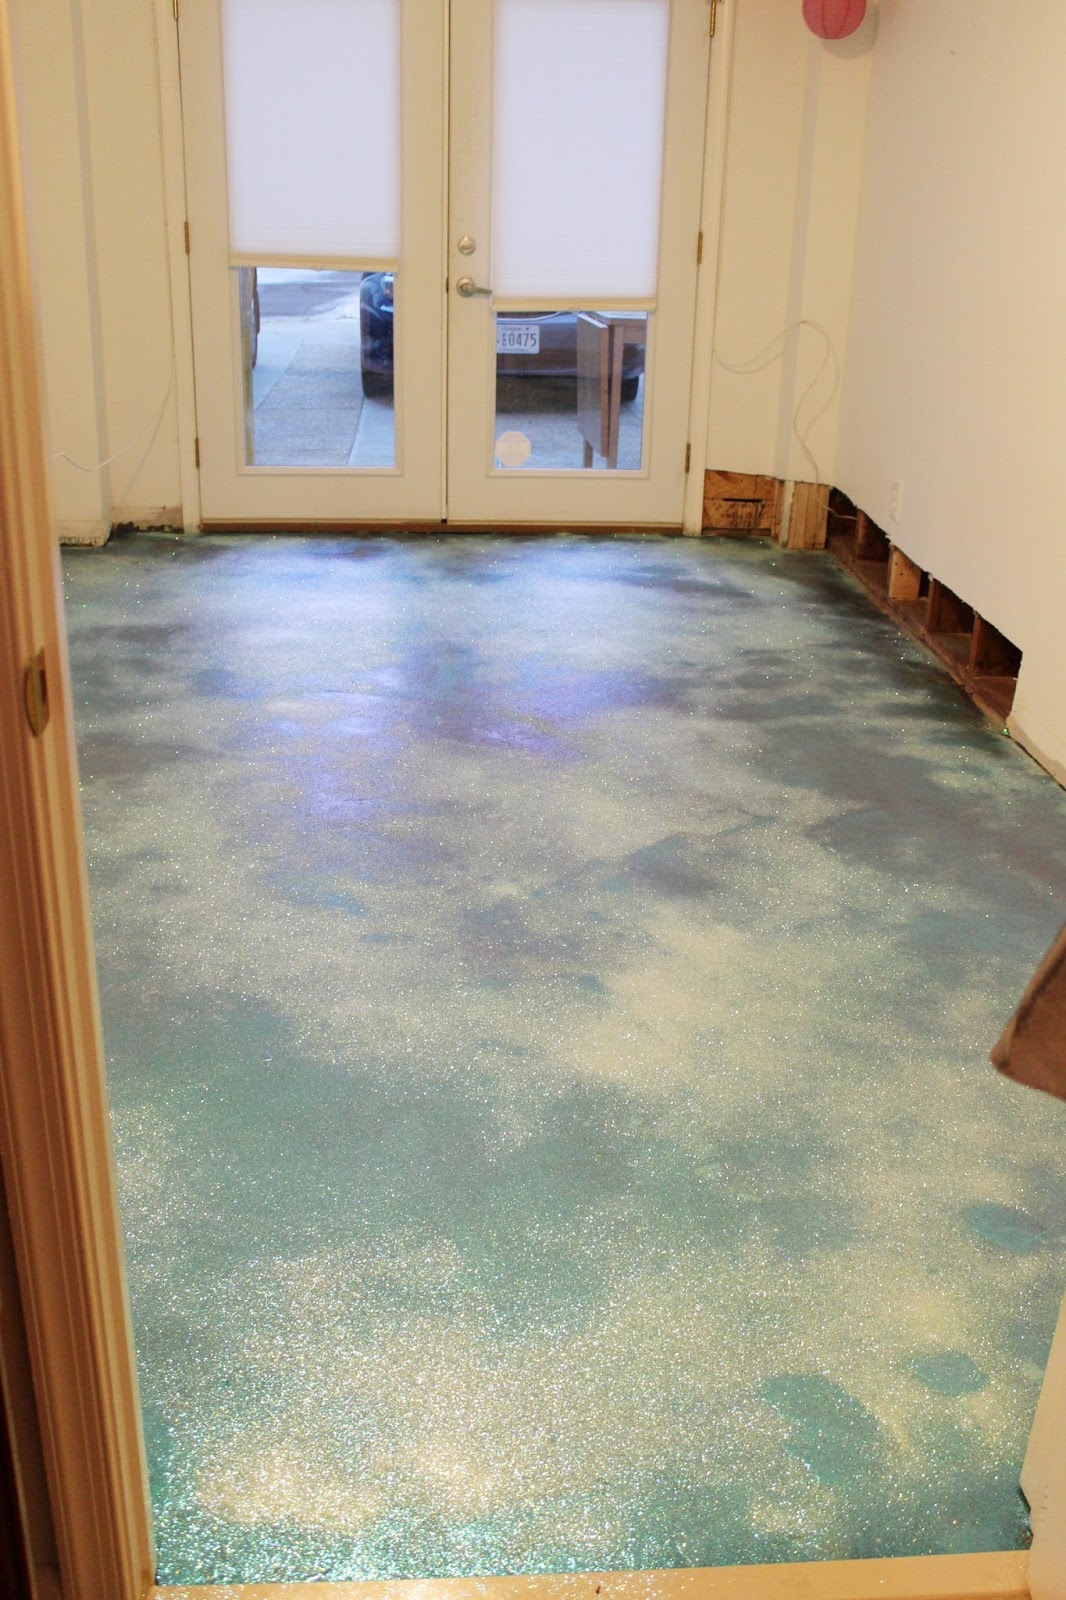
2. Mix epoxy per can instructions and add pigment. Add the non-skid stuff. Put some glitter in the epoxy.
3. It is time to haul ass. The epoxy sets in about 30 minutes. Use the long armed roller & brush to apply a very thick coat. Start from the furthest corner and work your way out. Pros have these fancy shoes with pegs that allow them to walk over the epoxy. We didn't bother to spend the money on these but they definitely would have helped. In our case we had a door at either side of the room so that helped.
4. IT'S GLITTER TIME. Throw the glitter up in the air so that it falls evenly. Throwing it directly on the floor will cause uneven clumps. Use the fans. Have one person hold the fan while the other throws glitter in front of it. Again, in our case, we have doors at both ends of the room so this was helpful. If you don't and your room is relatively large, you may need to do the glitter as you go or add more to the epoxy.
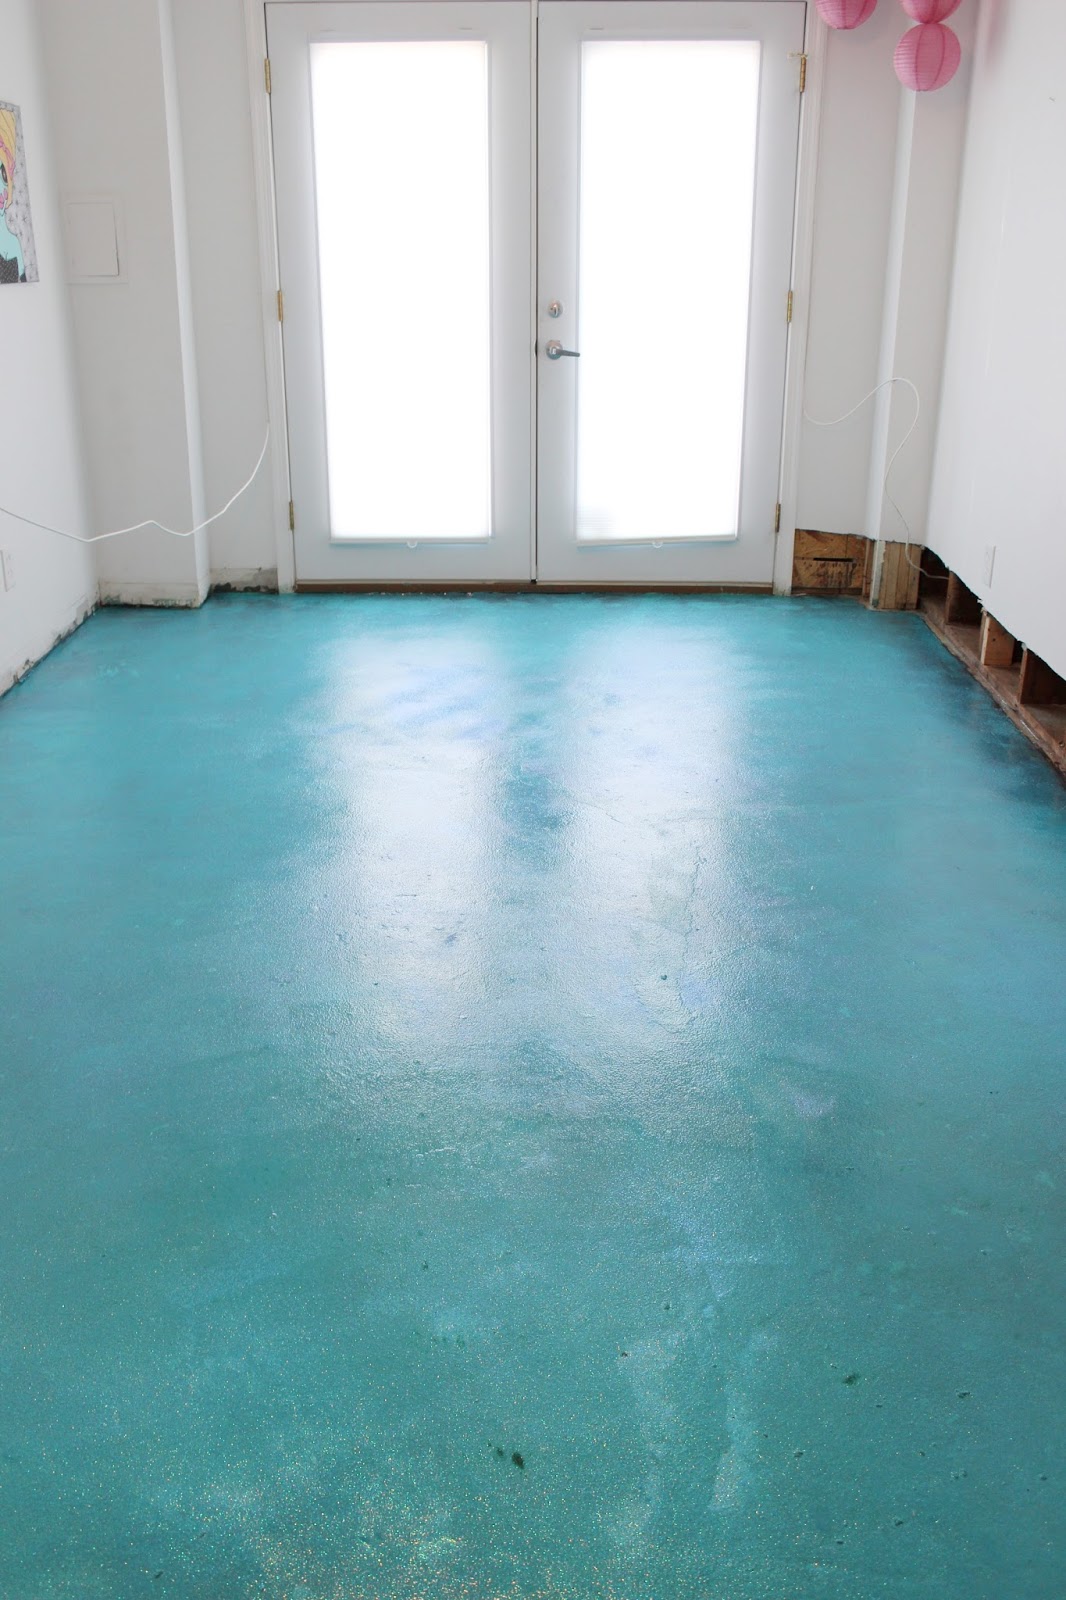
5. Allow everything to dry per package instructions--generally overnight or 24 hours. When it's had the proper amount of time to dry, use a wide broom to go in and collect the excess glitter.
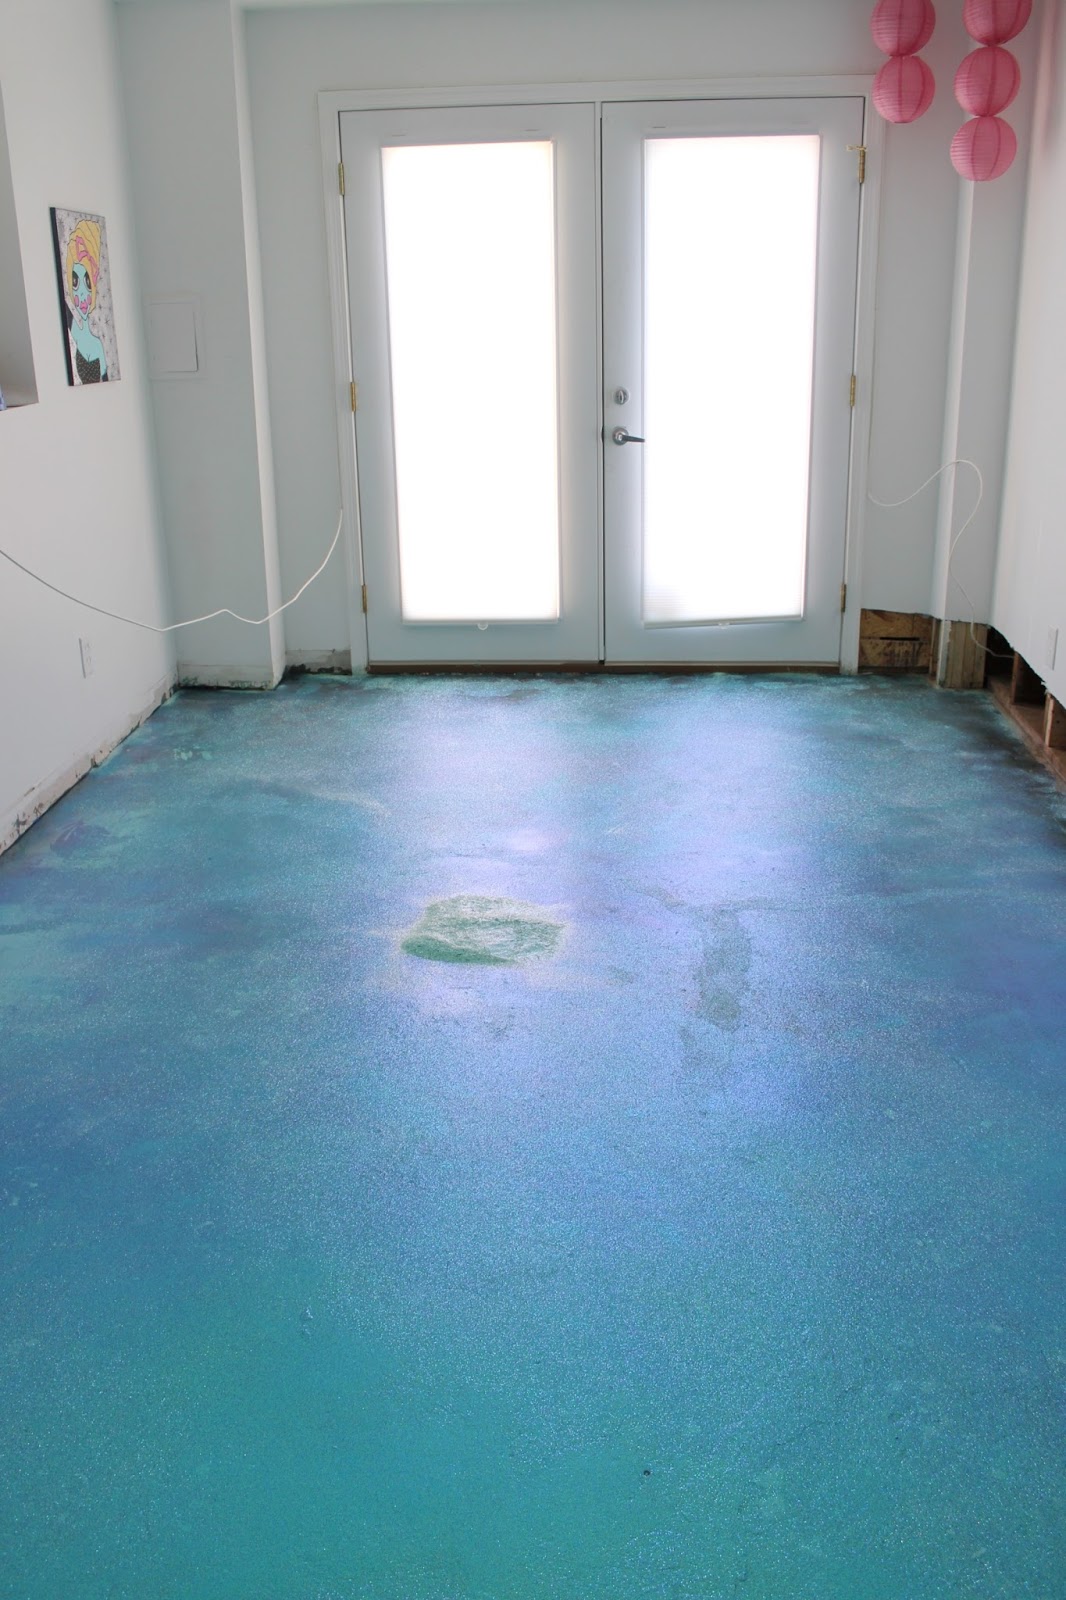
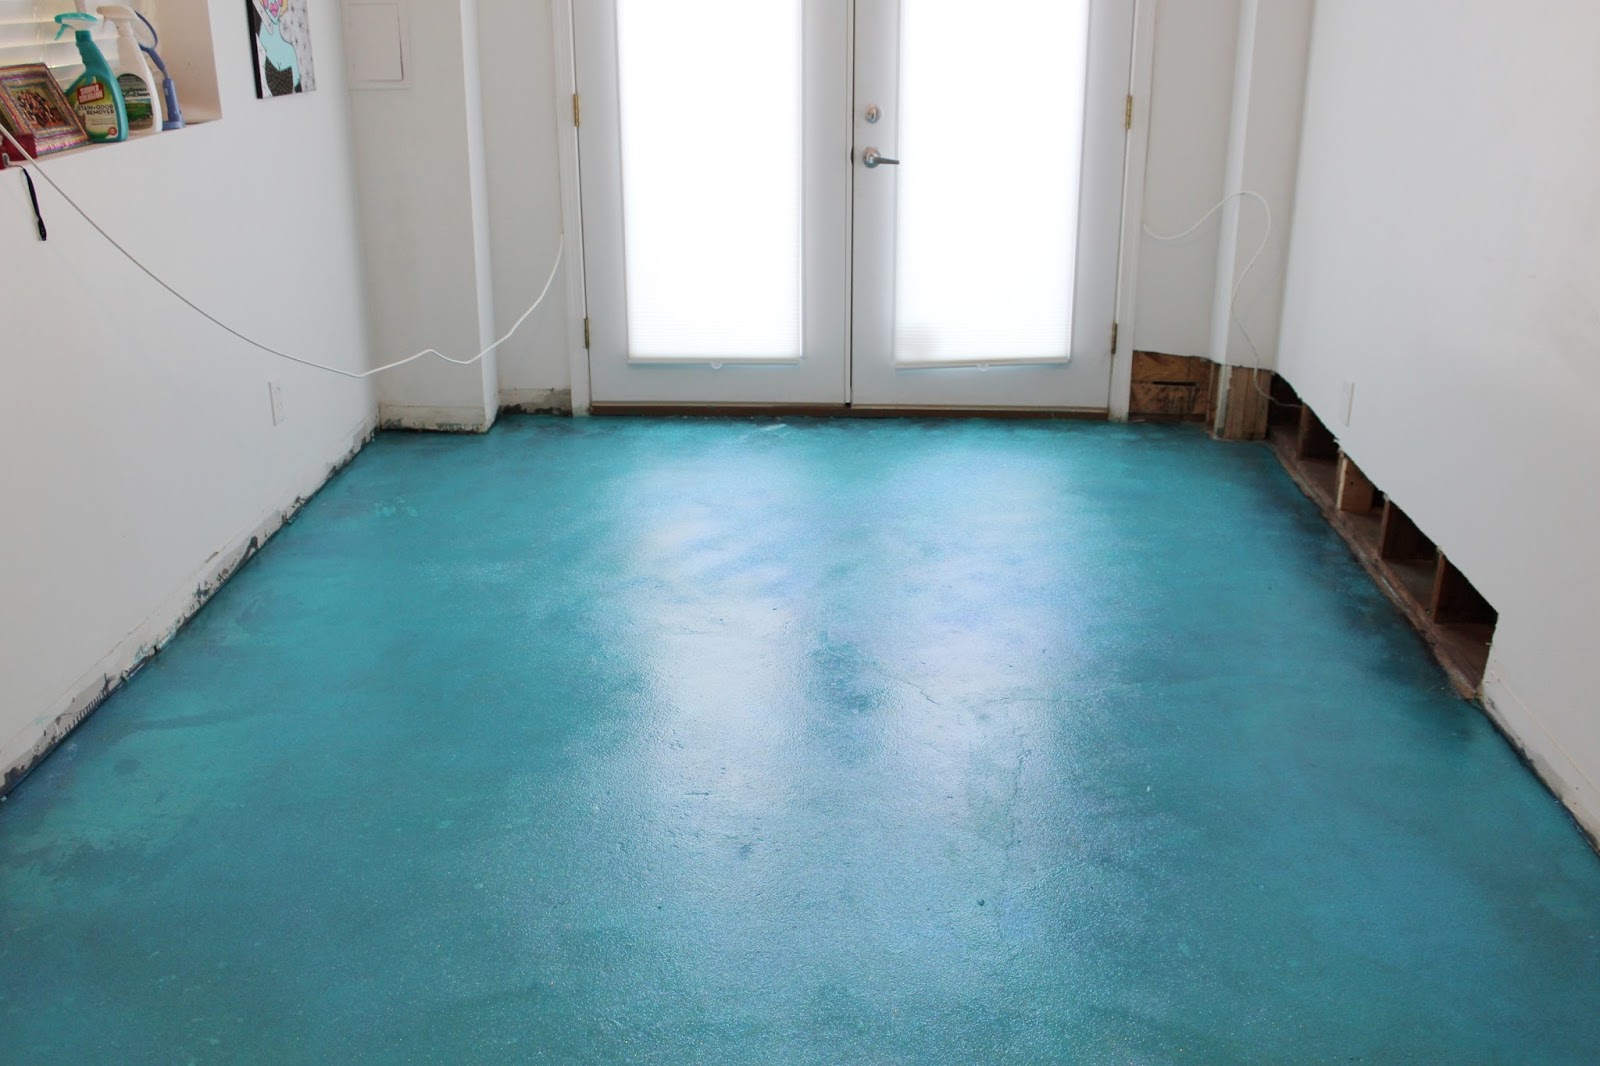
6. Pat yourself on the back. You are the (wo)man! I'd never seen anyone else do this pigment method for the epoxy and definitely not the pigment with the glitter so we were basically shooting in the dark here--but it turned out pretty cool. Between the two colors of pigment and the crystallina glitter, it ended up with a sort of mermaid-y effect.
7. Put the floorboards back on (or, in our case, put on new ones). Oh, and fix that hole in your drywall, that looks ridiculous.
Here are some additional tips. You're welcome in advance.
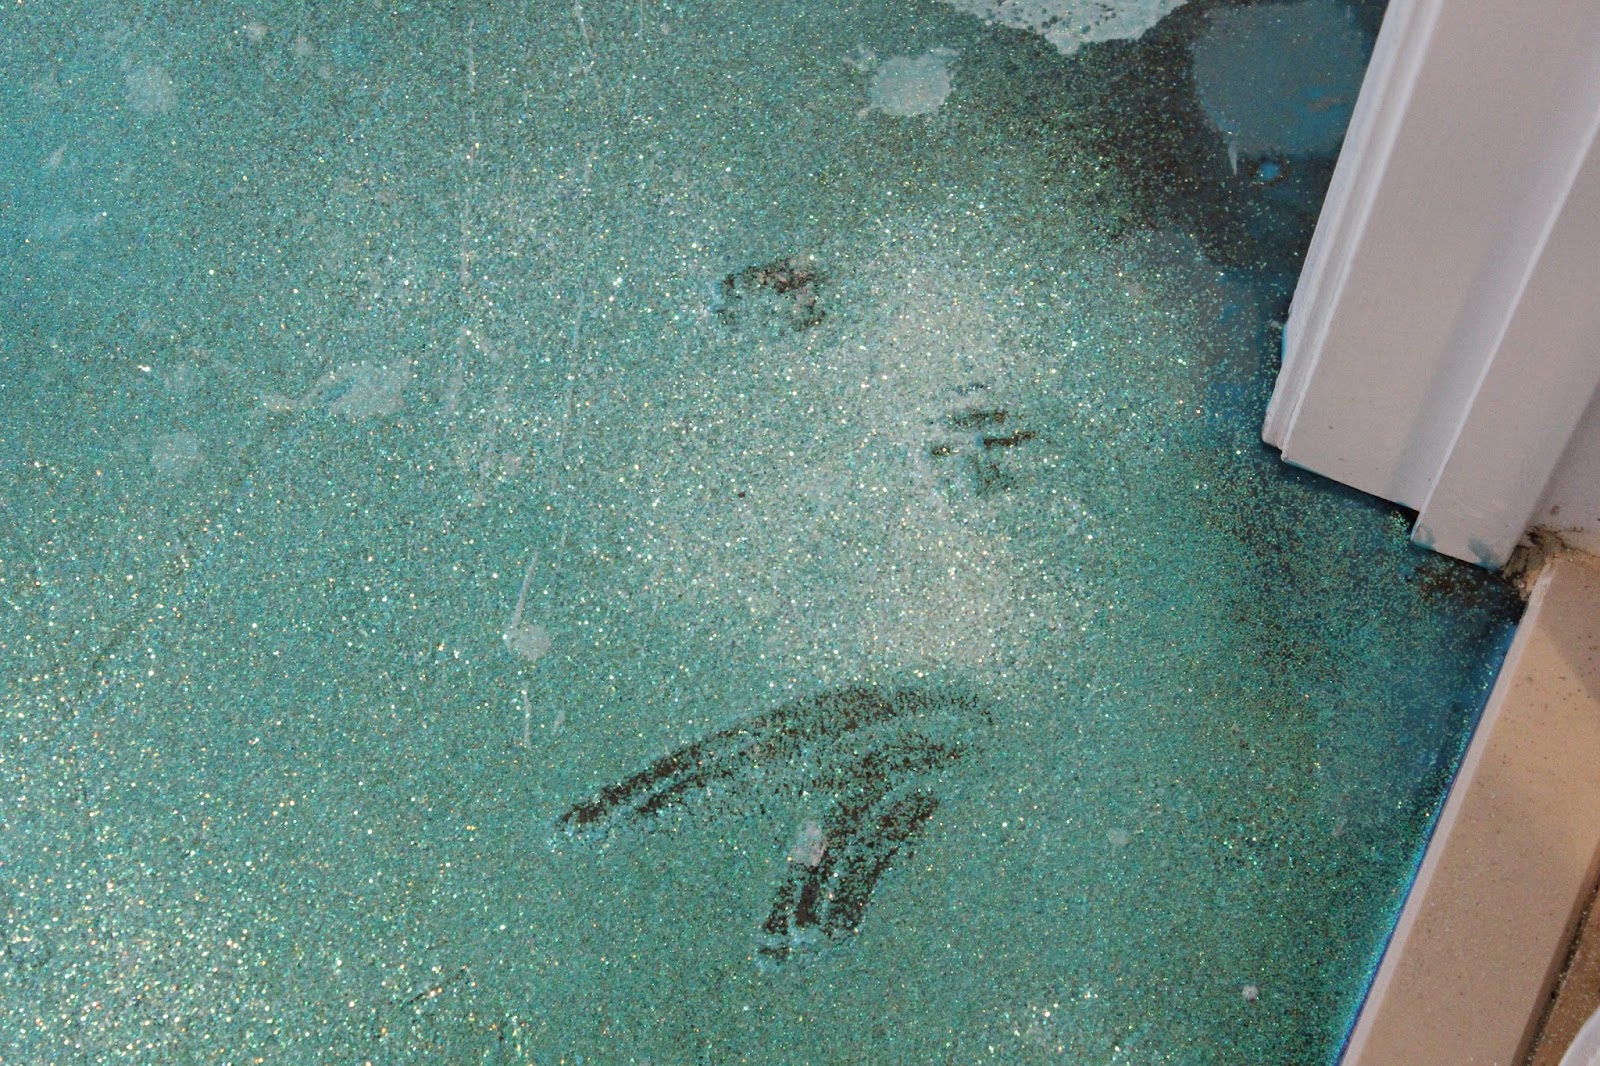
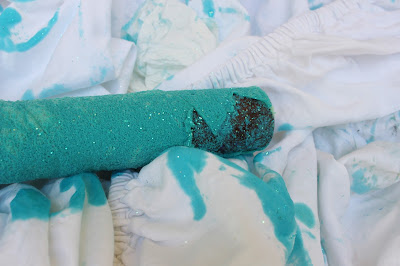
- We went cheap on the rollers. DO NOT DO THIS. When we were about 3/4 of the way through the brushes started to come apart--leaving behind tiny bits of themselves in the epoxy. We were able to get most of them out but not all of them and to this day there are some bumps where we couldn't remove them.
- Thoroughly mix the pigment. We ended up with a couple random spots where there is a darker glob of color.
- Be prepared to be able to kind of see through the epoxy. That means all those cracks you filled? You'll be able to see those patch jobs. I think it kind of gives the place character but I also kind of wish we'd put down a solid colored epoxy first and then followed up with a whole other layer of epoxy with the glitter. This would have doubled the price and the time but may have been worth it.
- SECURE YOUR ANIMALS. My goodness, this is so obvious. But we completely spaced on this and moments after we "finished" our a-hole cat came running through it. We were able to cover his tracks before it dried and get it off the cat but this was a close call and we're lucky he didn't take off for the middle of the room where we wouldn't have been able to reach.
Want to see what the room looks like all put together? Check out the finished Craft Room/Office Tour here.